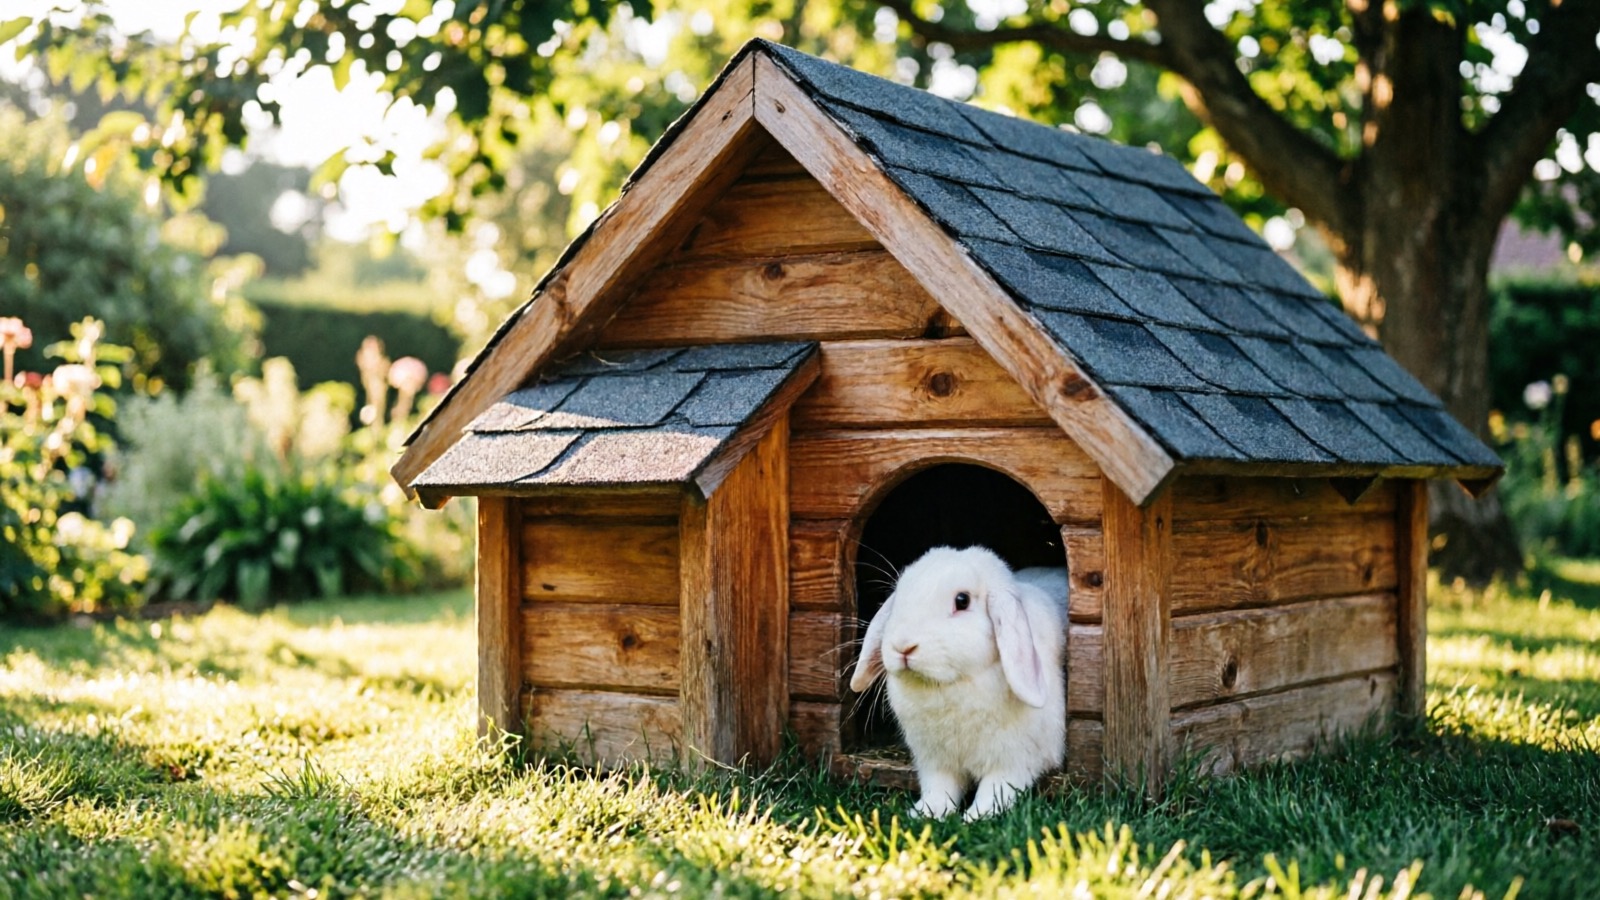
Building a rabbit hutch yourself saves money and lets you customize the size for your rabbit’s breed and living space. Whether you need an indoor enclosure or an all-weather outdoor setup, the process uses basic tools and materials available at any hardware store. Before you start, plan around your rabbit’s adult size — most breeds reach full size by 6 months and many hutches built for juveniles become too small within a year.
Tools & Materials You’ll Need
Gather everything before cutting any wood. Having tools ready means you can move continuously through assembly instead of stopping mid-build to make hardware store runs. Most items on this list are reusable for future projects — a quality circular saw and cordless drill will last for a decade of small pet DIY builds.
Tools:
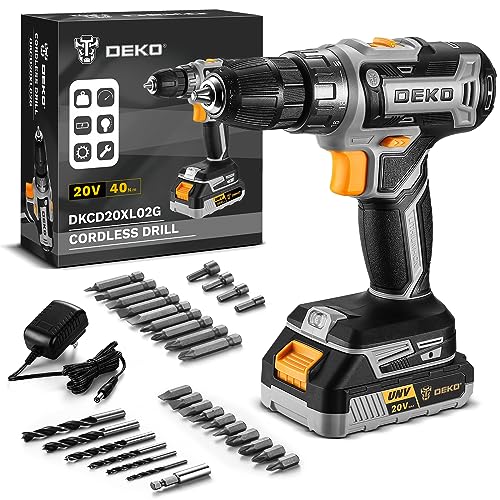
- Power drill with driver bits — DEKOPRO 20V Cordless Drill Set ($29.99) — drives all wood screws and pilot holes
- Circular saw — SKIL 15 Amp 7-1/4 Inch Circular Saw ($109.00) — straight cuts on plywood and 2×2 lumber
- Measuring tape (60-inch minimum) — for accurate frame dimensions
- Speed square — checks corner angles stay square during assembly
- Staple gun — attaches hardware cloth to the front frame
- Wire cutters — trim hardware cloth and bend sharp edges inward
- Sandpaper assortment — 120 to 220 grit pack ($7.27) — smooths all edges rabbits can reach
Materials for a basic 4ft indoor hutch:
- 1 sheet of 4×8 foot plywood (½ inch thick)
- 2×2 lumber for the frame (about 40 feet)
- 1×4 lumber for the roof
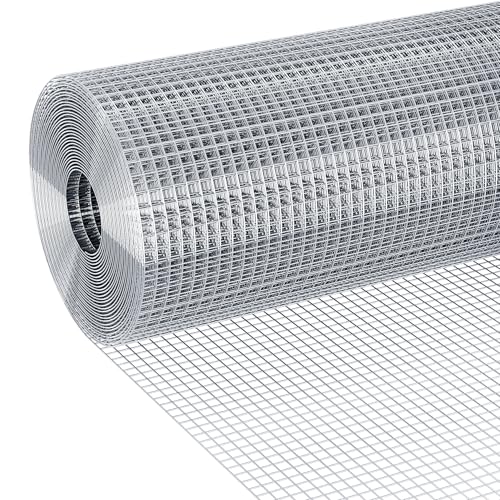
- Hardware cloth — 19-gauge, ½-inch mesh, 24 × 100 ft roll ($65.99) — for the front panel and run
- Weatherproof wood screws — Qekoirm 110-piece deck kit ($5.99) — exterior-grade fasteners that won’t rust
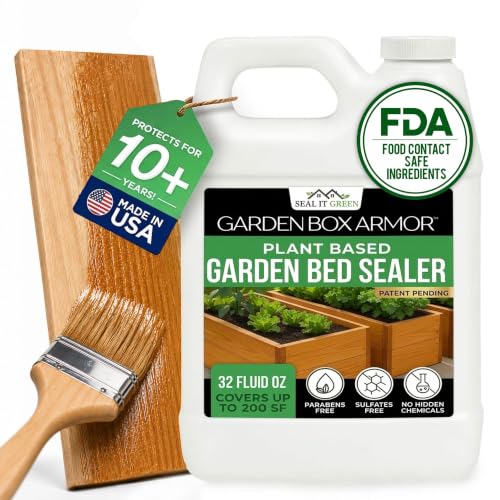
- Pet-safe wood sealant — Garden Box Sealer (FDA food-contact safe) ($25.17) — required for any outdoor hutch
- Hinges and barrel bolt latch for the door
- Linoleum or vinyl tile scrap for the interior floor (outdoor builds)
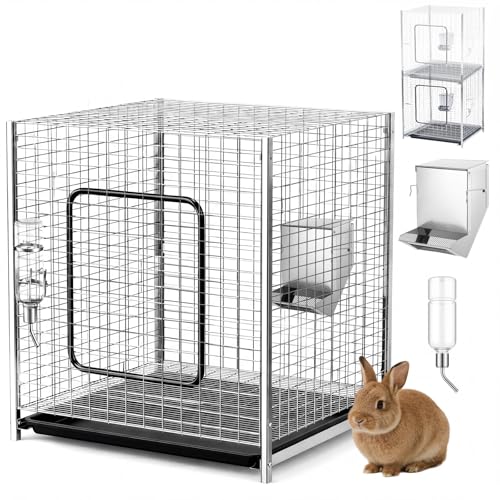
Total material cost for the basic 4ft build: roughly $50-$80. Adding the pet-safe sealant and hardware cloth upgrade brings the outdoor version to $120-$160. For owners who’d rather skip the build, the CraftyDream Stackable Rabbit Cage Kit ($99.99) is a 25×25×25 inch pre-assembled alternative that works for indoor use or as a temporary outdoor hutch in mild weather.
Step 1: Cut and Assemble the Frame
Start with the base frame. Cut two 48-inch pieces and two 24-inch pieces from your 2×2 lumber using your circular saw. Lay them flat on a work surface and drill pilot holes at each corner with the cordless drill, then secure with 2-inch wood screws from your weatherproof screw kit.
For the uprights, cut four pieces at 24 inches tall. Attach one at each corner of the base, drilling through the base into the upright ends. Use a square to check that each upright is perpendicular before tightening.
Build a second identical frame for the top. Attach it to the top of the uprights the same way you attached the base. You now have a rectangular box frame.
Step 2: Attach the Floor and Back Panel
Cut a piece of plywood to 48×24 inches for the floor. Place it on top of the base frame and secure with 1-inch screws every 6 inches along the perimeter.
For the back panel, cut another 48×24 inch piece and attach it to the back uprights. This provides structural support and protection from drafts.
Sand all exposed edges at this point using 120-grit sandpaper — rabbits will chew on any rough surfaces, and splinters can cause mouth injuries. Follow with 220-grit for a smoother finish on areas your rabbit can reach.
Step 3: Build the Front Panel with Wire
The front of the hutch needs ventilation and visibility. Cut a 48×20 inch piece of hardware cloth (leave 4 inches of solid wood at the bottom for the litter tray area).
Staple the hardware cloth to the front frame, pulling it taut as you go. Space staples every 2 inches along all edges. Fold any sharp wire ends inward using pliers so your rabbit cannot reach them.
For the bottom 4-inch solid section, cut a 48×4 inch strip of plywood and screw it in place below the wire. This keeps bedding contained and prevents urine from soaking into the frame.
Step 4: Add the Roof
Cut a 50×26 inch piece of plywood for the roof (2 inches of overhang on each side protects against rain if the hutch sits outdoors). Attach it with hinges along the back edge so you can lift the roof for easy cleaning and access.
For outdoor hutches, add a slight slope by attaching a thin strip of wood under the back edge of the roof before hinging. A sloped roof sheds water and prevents pooling.
Step 5: Install the Door and Access Points
Cut a 12×14 inch opening in one side panel for a cleanout door. Attach with two hinges and add a simple barrel bolt latch. This gives you access to the litter area without opening the main roof.
For outdoor hutches, add a second entry point at ground level that connects to an attached run. A 10×10 inch opening with a ramp lets your rabbit move between the hutch and exercise area freely.
Step 6: Weatherproofing for Outdoor Hutches
If the hutch will be outside, weatherproofing is non-negotiable. Apply two coats of pet-safe wood sealant to all exposed wood surfaces — the Garden Box Sealer formula is FDA food-contact safe so rabbits chewing treated wood face no chemical risk. Pay extra attention to the roof edges and base where water pools.
Add 1-inch felt weather stripping around the door frame. Line the interior floor with a piece of linoleum or vinyl tile before adding bedding — this prevents urine from soaking into the plywood base.
For winter protection, staple a piece of heavy-duty plastic sheeting to the inside of the roof frame. This creates an insulated air gap between the plastic and the wooden roof.
Step 7: Add Finishing Touches
Attach a J-feed water bottle holder to the outside of the wire panel. Mount a small hay rack on the inside of the back panel — keeping hay off the floor reduces waste and prevents mold. For setup details, see our rabbit cage setup guide and our guide to the best rabbit hay for daily-feeding recommendations.
Install plastic corner protectors on any exposed frame edges. Rabbits will chew corner joints, and plastic guards extend the life of the frame significantly.
Step 8: Predator-Proofing
For any outdoor hutch, predator-proofing is as important as the hutch itself. Replace any chicken wire with 16-gauge galvanized hardware cloth — raccoons, foxes, and even determined cats can tear through standard chicken wire.
Bury the wire 12 inches underground around the perimeter, bending it outward in an L-shape. This prevents animals from digging under the hutch. Use padlocks instead of spring latches — raccoons can open most gravity latches.
Maintenance Tips
Clean the hutch thoroughly once a week. Remove all bedding, scrub the floor with a pet-safe disinfectant (a 10% vinegar solution works well), and let it dry completely before adding fresh bedding. Check wire panels monthly for rust, loose staples, or chew damage.
Rotate the hutch position every few months if it sits on grass to prevent one area from becoming bare and muddy.
For rabbit-safe hutch materials and pre-built options, see our guide to the best rabbit hutches. If you are also setting up an exercise area, our rabbit harness guide covers safe outdoor exploration.