A turtle’s shell is more than just protective armor—it’s a living part of their body that requires proper care and attention. Shell problems are among the most common health issues in captive turtles, but they’re largely preventable with the right knowledge. This comprehensive guide covers everything you need to know about maintaining optimal shell health.
Understanding Turtle Shells
What Is a Shell?
A turtle shell is not a separate housing that turtles can exit. It’s an integral part of their skeleton, consisting of:
- Carapace (top shell) - Fused ribs and vertebrae
- Plastron (bottom shell) - Fused clavicles and rib bones
- Bridge - Connects carapace and plastron
- Scutes - Keratin plates covering the bone
Shell Composition
- Bone (60%) - Living tissue with blood supply
- Keratin (40%) - Same material as fingernails
- Nerve endings - Shell is sensitive to touch and pressure
Important: Because shells contain living tissue and nerve endings, shell injuries are painful and can lead to serious infections [Journal of Herpetological Medicine].
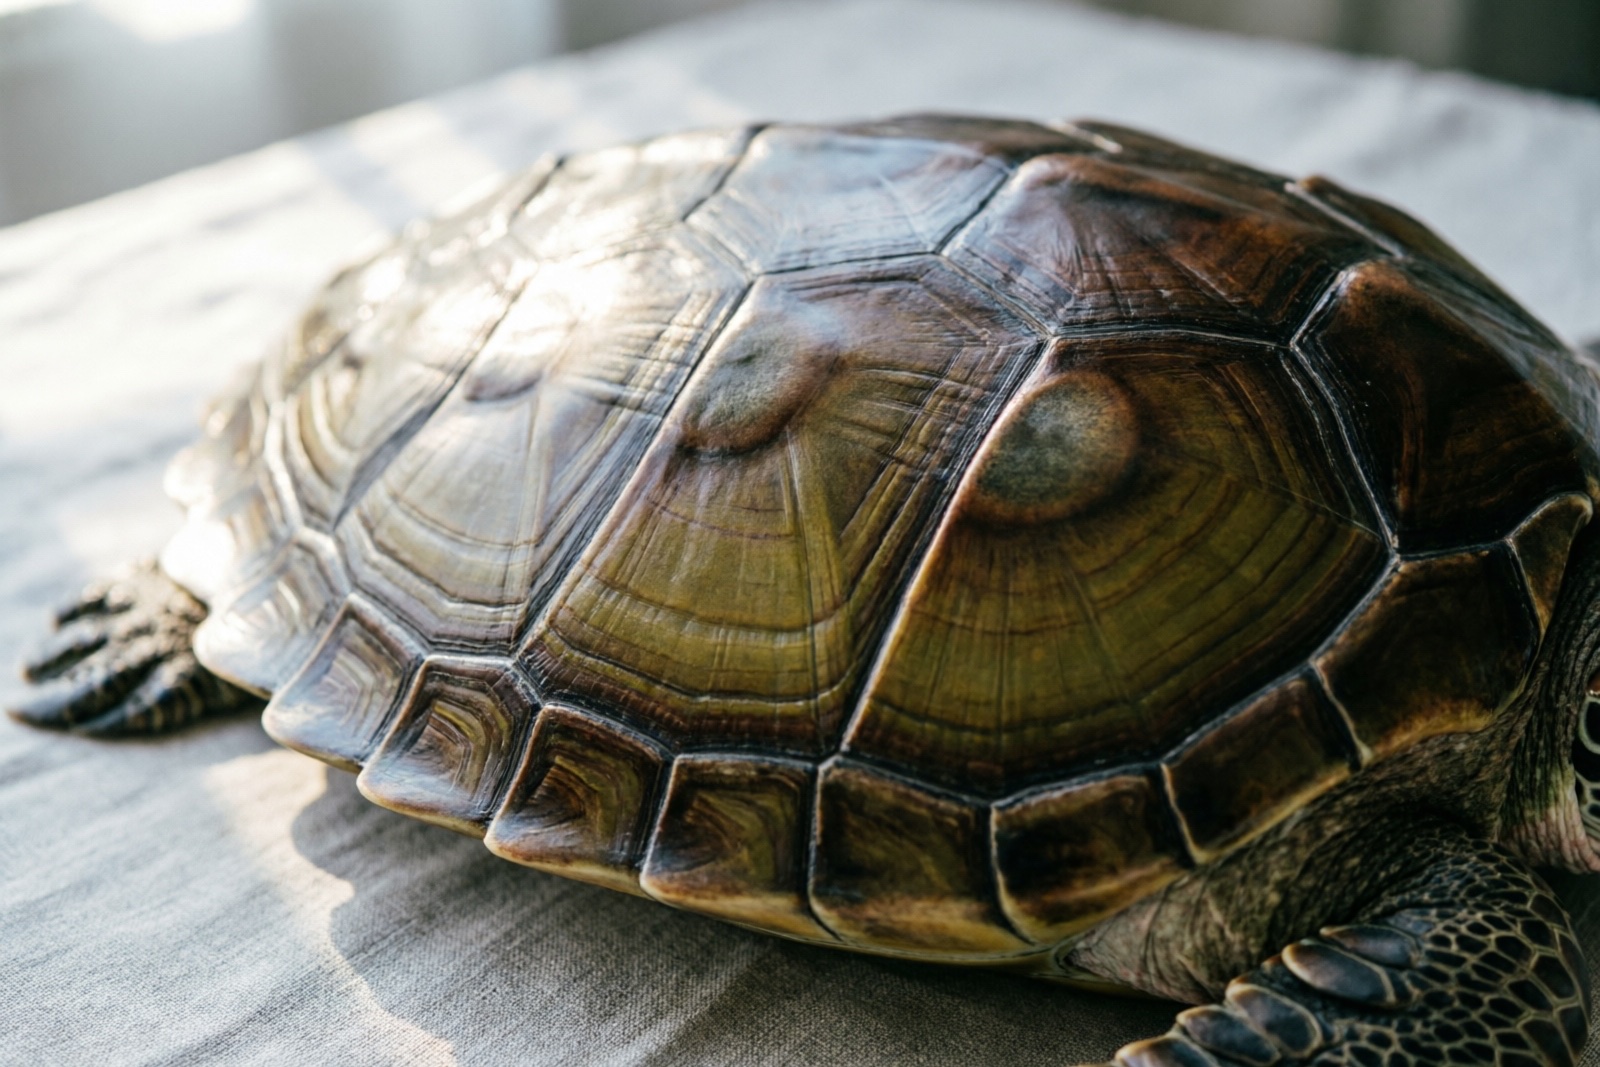
Normal Shell Characteristics
Healthy Shell Signs:
- ✅ Smooth, hard surface
- ✅ Uniform color (species-dependent)
- ✅ No soft spots
- ✅ No peeling or flaking (except normal shedding)
- ✅ No discoloration or unusual marks
- ✅ No foul odor
Essential Shell Care Requirements
1. Proper UVB Lighting
Why It’s Critical: UVB light enables turtles to synthesize vitamin D3, which is essential for calcium absorption and shell health. Requirements:
- UVB bulb strength: 5.0-10.0 for aquatic turtles, 10.0 for desert species
- Distance: 12-18 inches from basking spot
- Duration: 10-12 hours per day
- Replacement: Every 6-12 months (even if still working, UVB output decreases) Recommended Bulbs:
- Zoo Med Reptisun 10.0 T5 HO - Industry standard
- Arcadia D3 - Premium European brand
- Exo Terra Solar Glo - All-in-one heat + UVB Zoo Med Reptisun T5 HO Terrarium Hood ($59.98, 4.1⭐, 🔥)
2. Adequate Calcium
Dietary Sources:
- Cuttlebone - Leave in tank for constant access
- Calcium supplements - Dust food 2-3 times per week
- Calcium-rich foods - Dark leafy greens, calcium-fortified pellets Supplementation Schedule:
- Baby/Juvenile turtles: Daily calcium dusting
- Adult turtles: 2-3 times per week
- Breeding females: Daily (egg production requires extra calcium) Calcium Products:
- Rep-Cal Calcium with D3 - $8
- Zoo Med Repti Calcium - $7
- Fluker’s Calcium - $6
3. Clean Water (Aquatic Turtles)
Water Quality Parameters:
- Ammonia: 0 ppm
- Nitrite: 0 ppm
- Nitrate: < 40 ppm
- pH: 6.5-8.0 (species-dependent)
- Temperature: Species-specific (72-82°F for most) Filtration:
- Canister filters - Best for turtles (high waste producers)
- Rate: 2-3x tank volume per hour
- Maintenance: Clean monthly, don’t replace all media at once Water Changes:
- Weekly: 25-30% water change
- Monthly: 50% water change
- Use: Dechlorinated water
4. Proper Temperature
Basking Area:
- Temperature: 85-95°F (29-35°C)
- Provides: Digestion, immune function, shell drying Water Temperature (Aquatic):
- Daytime: 75-82°F (24-28°C)
- Nighttime: 70-75°F (21-24°C)
- Use: Submersible heater with thermostat
5. Balanced Diet
Nutritional Requirements:
- Protein: 30-50% (varies by age and species)
- Calcium/Phosphorus: 2:1 ratio
- Vitamins: A, D3, E essential Diet by Age:
- Hatchlings (0-6 months): 50% protein (daily feeding)
- Juveniles (6-12 months): 40% protein (daily feeding)
- Adults (1+ years): 25-30% protein (every 2-3 days)
Shell Cleaning
Do Turtles Need Shell Cleaning?
Generally, No - Healthy turtles in clean environments maintain their own shells. However, cleaning may be needed if:
- Algae buildup (common in aquatic turtles)
- Debris or waste stuck to shell
- Preparing for treatment of shell issues
- Post-transport quarantine
Safe Cleaning Method
Materials Needed:
- Soft toothbrush - New, never used with chemicals
- Lukewarm water - Same temperature as tank water
- Clean towel
- Chlorhexidine solution (for medical cleaning only) Steps:
- Remove turtle from tank
- Rinse shell with lukewarm water
- Gently brush with soft toothbrush
- Use circular motions
- Don’t scrub hard
- Avoid edges and soft areas
- Rinse thoroughly
- Pat dry with clean towel
- Return to tank or basking area
What NOT to Use
- ❌ Soap or detergent - Toxic if absorbed through shell
- ❌ Vinegar - Too acidic, can damage shell
- ❌ Bleach - Extremely toxic
- ❌ Alcohol - Drying and irritating
- ❌ Hard brushes - Can scratch shell
- ❌ Hot or cold water - Shock the turtle
Algae Removal
Why Algae Grows:
- Excess light
- High nutrients in water
- Insufficient basking time Prevention:
- Reduce tank lighting to 10-12 hours/day
- Improve water quality
- Ensure proper basking time (6-8 hours/day) Removal:
- Gently brush with soft toothbrush
- Increase basking time (algae dies when dry)
- Add algae-eating fish (if appropriate for species)
Common Shell Problems
1. Shell Rot (Ulcerative Shell Disease)
What It Is: Bacterial or fungal infection of the shell, causing pitting, soft spots, and foul odor. Causes:
- Poor water quality
- Inadequate basking/drying time
- Shell injuries
- Stress
- Nutritional deficiencies Symptoms:
- ⚠️ Soft, mushy spots on shell
- ⚠️ Pitting or crater-like depressions
- ⚠️ White, gray, or red patches
- ⚠️ Foul odor
- ⚠️ Peeling or flaking scutes
- ⚠️ Discharge or pus Treatment: Mild Cases (Home Treatment):
- Dry docking - Keep turtle out of water 2-4 hours/day
- Clean affected area with diluted chlorhexidine (1:40 ratio)
- Apply silver sulfadiazine cream or betadine
- Improve water quality immediately
- Ensure proper UVB and basking Severe Cases:
- See a veterinarian immediately
- May require antibiotics
- Deep cleaning under sedation
- Fluid therapy
Warning: Shell rot can be fatal if left untreated. When in doubt, see a reptile veterinarian. RONDURE Reptile Shell Balm ($13.99, 4.5⭐, 🔥)
2. Pyramiding (Shell Deformity)
What It Is: Abnormal shell growth causing scutes to rise pyramid-like rather than growing flat. Causes:
- Overfeeding - Most common cause
- Too much protein in diet
- Inadequate humidity (for some species)
- Lack of UVB
- Calcium deficiency Prevention:
- Feed appropriate amounts (don’t overfeed)
- Reduce protein as turtle ages
- Provide proper UVB lighting
- Maintain correct humidity (species-dependent)
- Ensure adequate calcium Treatment:
- Cannot be reversed once formed
- Can be stopped from worsening with proper care
- Focus on prevention
3. Soft Shell (Metabolic Bone Disease)
What It Is: Shell remains soft and flexible due to calcium deficiency and lack of UVB. Symptoms:
- ⚠️ Soft, rubbery shell
- ⚠️ Shell easily indents with light pressure
- ⚠️ Lethargy
- ⚠️ Tremors or twitching
- ⚠️ Swollen limbs Causes:
- Lack of UVB light
- Calcium deficiency
- Improper diet
- Phosphorus imbalance Treatment:
- Provide UVB lighting immediately
- Calcium supplementation (consult vet for dosage)
- Balanced diet
- Veterinary care for severe cases
- May take months to correct
Critical: Soft shell is a medical emergency. Seek veterinary care immediately.
4. Retained Scutes (Dysecdysis)
What It Is: Old scutes don’t shed properly, remaining stuck to new shell growth underneath. Causes:
- Poor nutrition
- Inadequate basking/drying
- Low humidity
- Fungal infection Treatment:
- Gentle brushing with soft toothbrush during shed
- Increase basking time
- Ensure proper nutrition
- Don’t force removal - can damage new shell
- See vet if severe or persistent
5. Shell Injuries
Types:
- Cracks or fractures
- Punctures
- Missing scutes
- Chewed edges (from other turtles) Immediate Actions:
- Remove turtle from tank
- Stop bleeding (apply gentle pressure with clean cloth)
- Clean wound with diluted betadine
- Keep dry (dry dock)
- See veterinarian - shell injuries often require professional treatment Veterinary Treatment May Include:
- Wound cleaning and debridement
- Antibiotics (oral or injectable)
- Shell repair (fiberglass patch, resin)
- Pain management
6. Discoloration
White Spots:
- Could be: Mineral deposits, fungal infection, shedding, or shell rot
- Action: Monitor, test water quality, see vet if spreading Black/Dark Spots:
- Could be: Normal pigmentation, fungal infection, or necrosis
- Action: See vet if spots are raised, soft, or spreading Red/Pink Patches:
- Could be: Septicemia (blood infection), shell rot, or injury
- Action: Veterinary emergency
Preventing Shell Problems
Daily Practices
- ✅ Check water quality (ammonia, nitrite, nitrate)
- ✅ Observe turtle for behavior changes
- ✅ Inspect shell for abnormalities
- ✅ Ensure basking light is working
- ✅ Feed appropriate diet
Weekly Tasks
- ✅ Partial water change (25-30%)
- ✅ Clean filter media (rinse, don’t replace all)
- ✅ Check UVB bulb (replace every 6-12 months)
- ✅ Weigh turtle (track health)
- ✅ Measure shell length (track growth)
Monthly Tasks
- ✅ Deep clean tank
- ✅ Full water quality test
- ✅ Inspect all equipment
- ✅ Review diet and adjust if needed
Annual Tasks
- ✅ Veterinary checkup
- ✅ Replace UVB bulb
- ✅ Review and update habitat
Species-Specific Considerations
Aquatic Turtles (Red-eared Sliders, Painted Turtles)
- Water quality: Most critical factor
- Basking: 6-8 hours/day essential
- Algae: Common, usually harmless
- Shell drying: Essential for preventing shell rot
Box Turtles
- Humidity: 60-80% required
- Soaking: Weekly soaks aid hydration and shedding
- Substrate: Maintain proper moisture
- Outdoor time: Natural sunlight beneficial (supervised)
Tortoises (Russian, Sulcata, etc.)
- Low humidity: Many species require dry environments
- Pyramiding risk: High if overfed or improper humidity
- Outdoor grazing: Ideal for many species
- Substrate: Avoid damp, mold-prone materials
Product Recommendations
Essential Shell Care Kit
- UVB Light: Zoo Med Reptisun 10.0 T5 HO ($45)
- Zoo Med Reptisun T5 HO Terrarium Hood ($59.98, 4.1⭐, 🔥)
- Calcium Supplement: Rep-Cal Calcium with D3 ($8)
- Rep-Cal Calcium with D3 Powder ($12.91, 4.7⭐, 🔥)
- Calcium Block: Zoo Med Dr.Turtle Calcium Block 5-pack ($9)
- Zoo Med Dr.Turtle Calcium Block ($9.25, 4.6⭐, 🔥)
- Water Test Kit: API Freshwater Master Kit ($25)
- API 5-in-1 Freshwater Test Strips ($24.98, 4.6⭐, 🔥)
- First Aid: Betadine Solution ($10)
- Amazon Basics Povidone Iodine Antiseptic ($6.77, 4.7⭐, 🔥) Total: ~$93
FAQ
Q: How often should I clean my turtle’s shell?
A: Generally, you don’t need to clean a healthy turtle’s shell. They maintain it themselves through basking and swimming. Only clean if there’s algae buildup, debris, or as part of treating a problem.
Q: Can I use soap to clean the shell?
A: No! Never use soap, detergent, or chemicals on a turtle’s shell. These can be absorbed and cause toxicity. Use only lukewarm water.
Q: Why is my turtle’s shell peeling?
A: Some peeling is normal shedding (scutes coming off). However, excessive peeling, soft spots, or foul odor indicate shell rot and require veterinary attention.
Q: How can I tell if my turtle has shell rot?
A: Look for: soft spots, pitting/holes, white/red/gray patches, foul smell, or discharge. If you see these signs, see a reptile veterinarian.
Q: Can shell problems heal?
A: Yes, most shell problems can heal with proper treatment. However, deformities like pyramiding cannot be reversed, only stopped from worsening.
Q: How do I know if my turtle is getting enough UVB?
A: Signs of adequate UVB: healthy shell growth, normal activity, good appetite. Signs of deficiency: soft shell, lethargy, poor appetite, swollen eyes.
Q: My turtle’s shell has white spots. Is this normal?
A: White spots can be: mineral deposits (harmless), normal shedding, fungal infection, or early shell rot. Monitor closely and see a vet if spreading or if turtle seems unwell.
Conclusion
Proper turtle shell care requires:
- Adequate UVB lighting - Essential for calcium absorption
- Balanced diet with proper calcium
- Clean water (for aquatic species)
- Proper temperature and basking opportunities
- Regular observation for early problem detection Most shell problems are preventable with proper husbandry. When issues do occur, early intervention is key. Don’t hesitate to seek veterinary care for shell problems—they can quickly become serious if left untreated. Invest in quality equipment (UVB lights, filters) and maintain consistent care. Your turtle’s shell is a window to their overall health—keep it healthy, and your turtle will thrive for decades.